
Last updated November 15, 2026
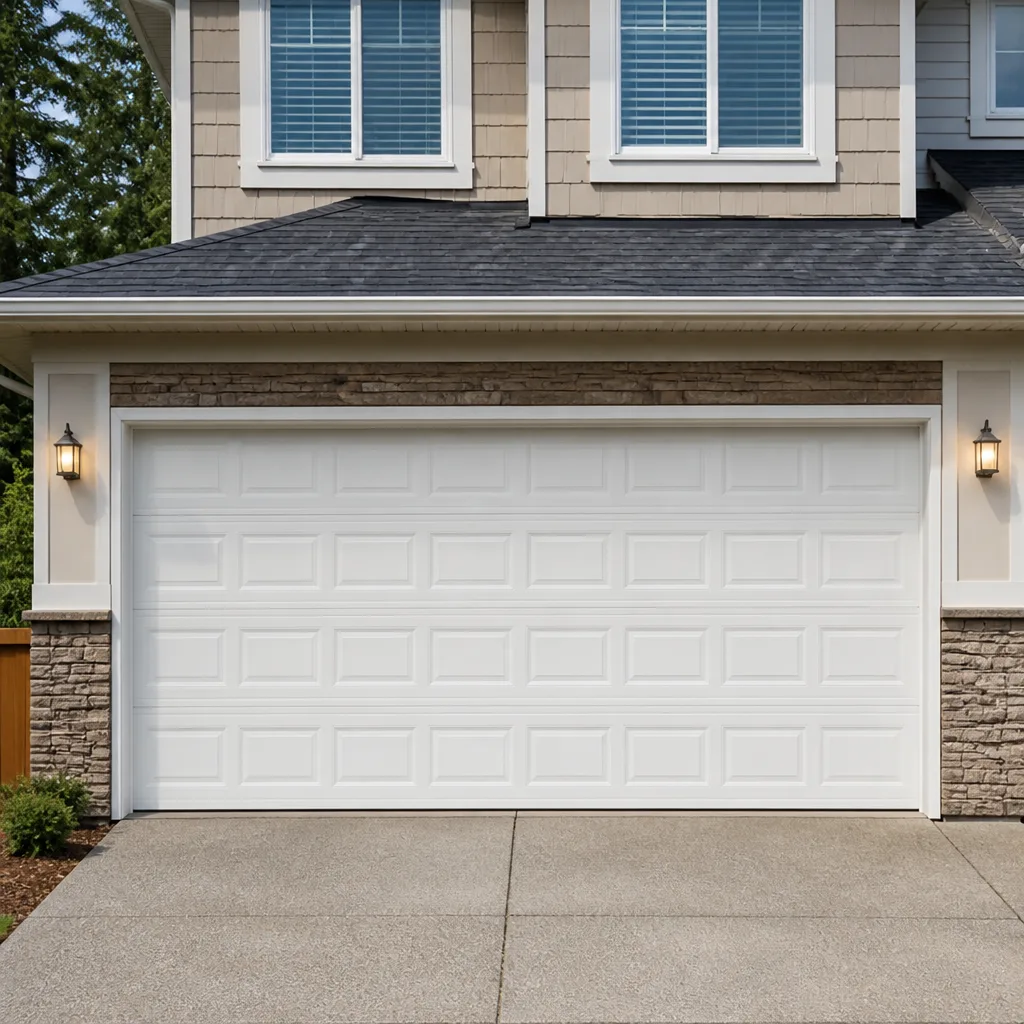 Raised-panel steel
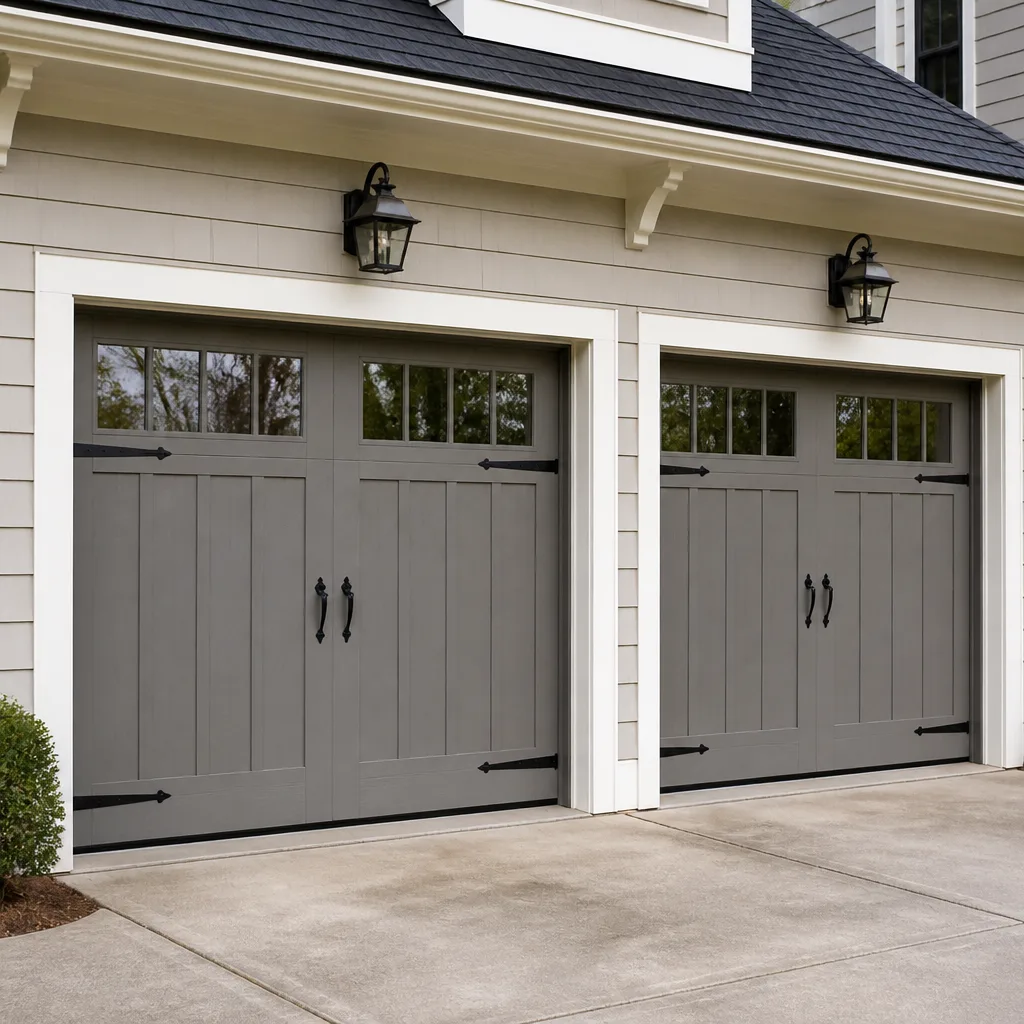 Carriage house
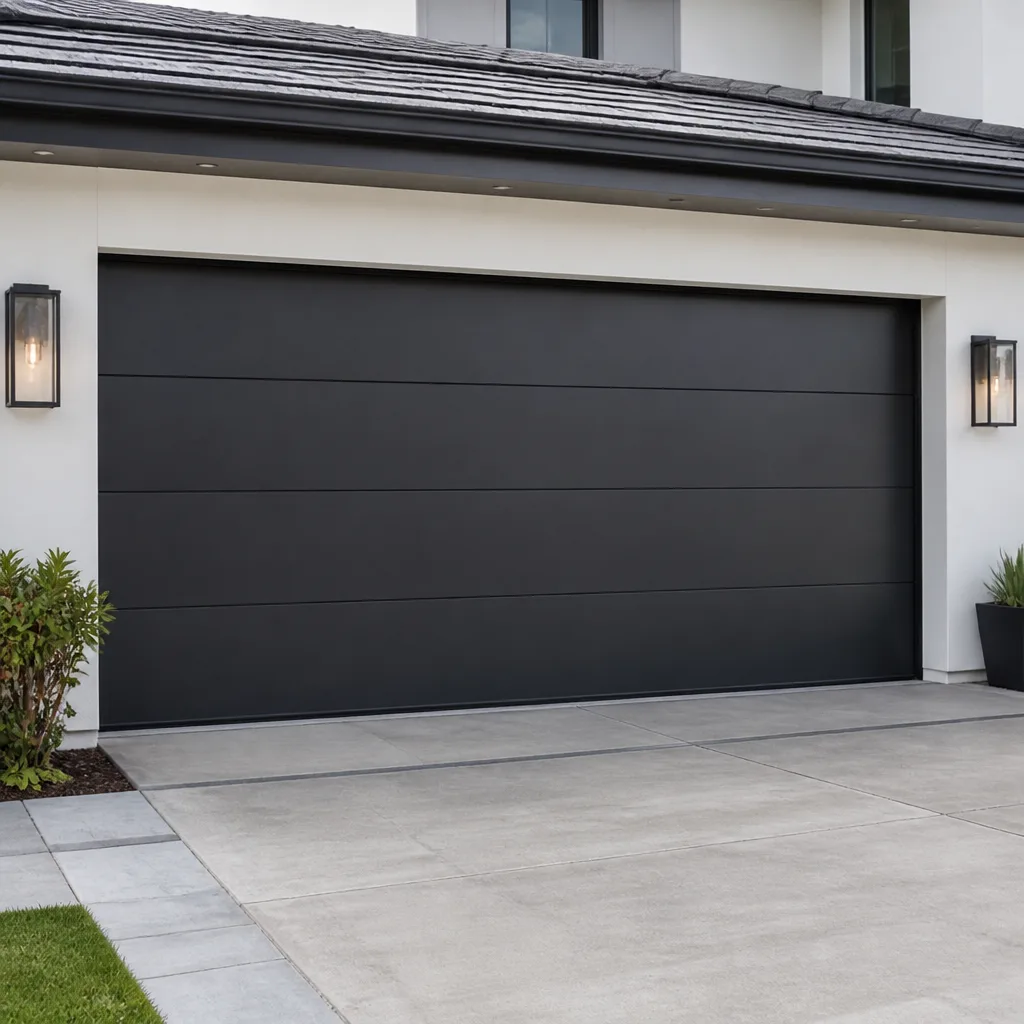 Modern flush
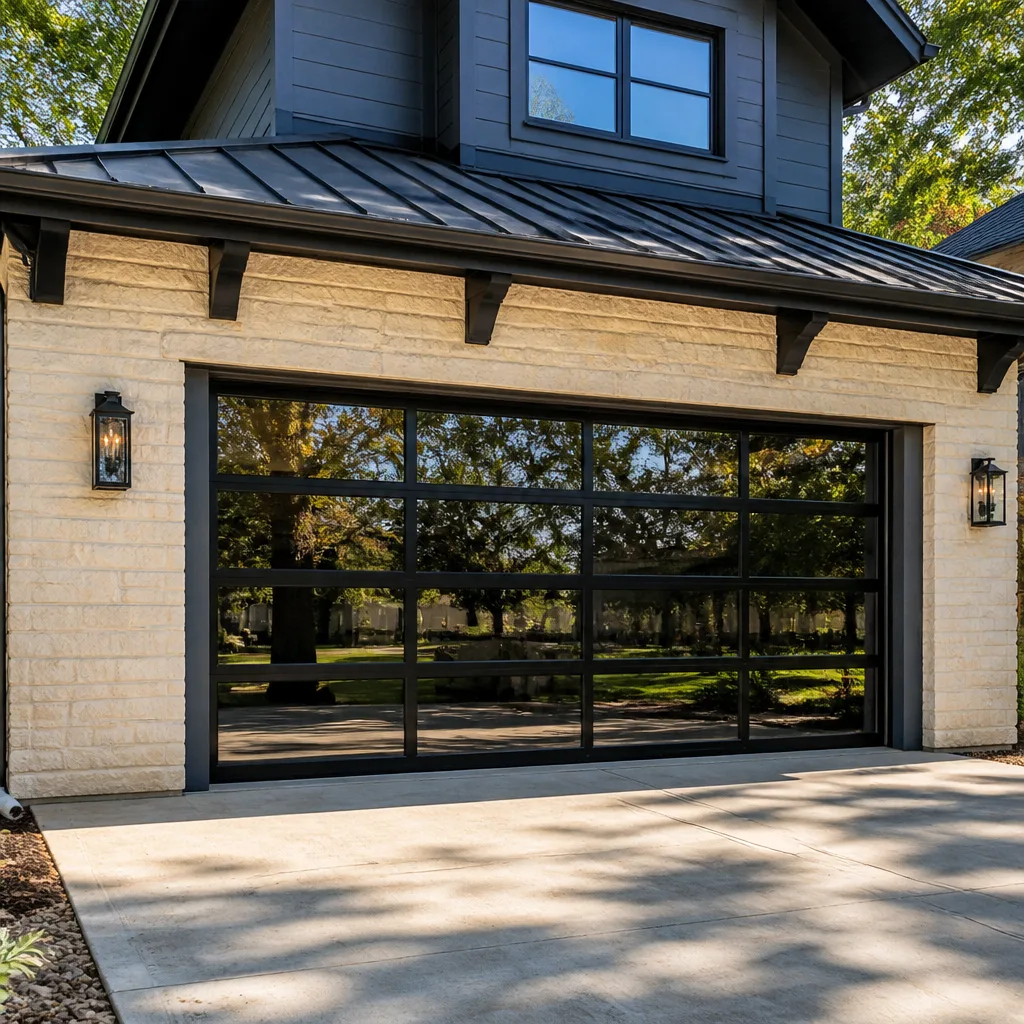 Full-view glass
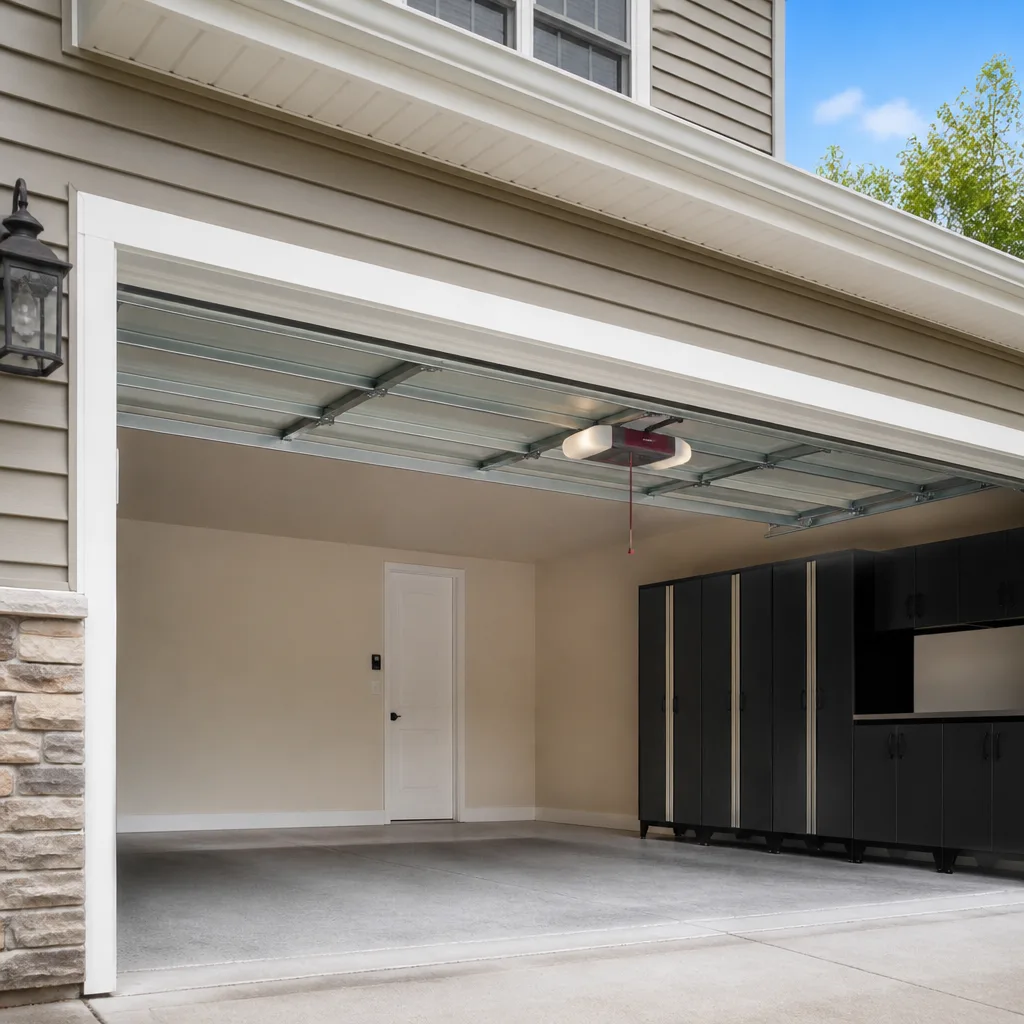 LiftMaster openers
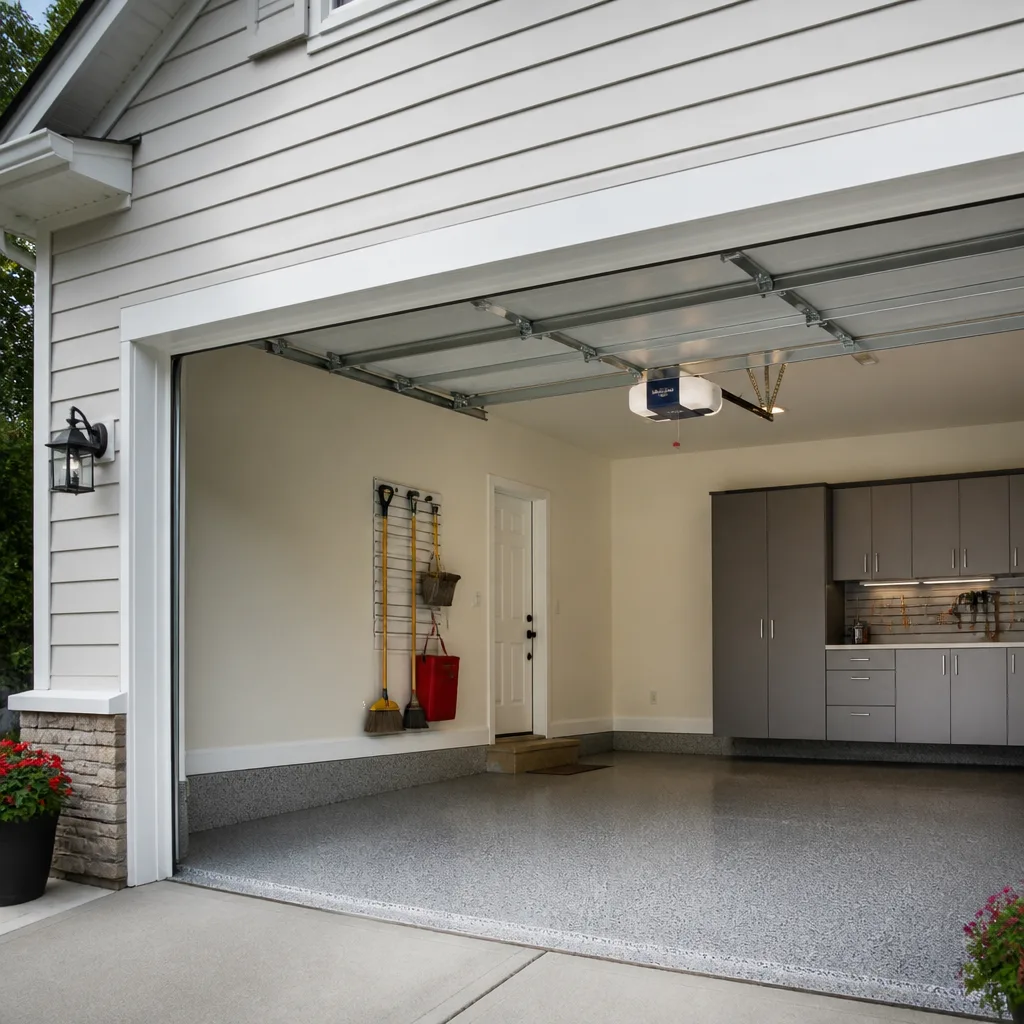 Chamberlain openers
Full 25-point door and opener safety check with every visit - springs, cables, rollers, tracks, and your LiftMaster or Chamberlain opener included
You get a price before we start. It does not change when the pro arrives.
Get your free estimateGarage Door Repair Troubleshooting in Tracy: Common Problems and How to Fix Them
Most homeowners chase the symptom. They see a door that reverses before it closes and immediately blame the safety sensors, then spend an afternoon wiping lenses that were clean the whole time. The sensor wasn’t the problem – the opener’s down-force setting was, and it takes about thirty seconds to correct once you know to look for it. This guide is built around that idea: read the door’s actual behavior, match it to the component responsible, and stop guessing. We’ll walk through the symptom-to-cause map, which checks are genuinely safe for a homeowner, which ones need a trained technician, and the single 10-second test that tells you whether the trouble lives in the opener or in the door itself. Everything here is written for the homes and climate of Tracy.
Styles & brands we work with
- Raised-panel steel
- Carriage house
- Modern flush
- Full-view glass
- LiftMaster openers
- Chamberlain openers
Quick Answer
Most garage door problems in Tracy trace to one of four things: a torsion spring that’s lost tension, a misaligned or dirty photo-eye, a track knocked out of plumb, or an opener that’s out of calibration. The fastest way to narrow it down is to pull the manual release and lift the door by hand – if it’s heavy, binds, or won’t stay up, the problem is the door; if it glides easily, the problem is the opener. Spring tension and cable work are not homeowner jobs; limits, photo-eyes, lubrication, and force settings usually are.
Table of Contents
- The Symptom-to-Cause Map: What Your Door Is Telling You
- Springs vs. Openers: Which System Is Actually Failing?
- The Tracy Heat Factor: Why Doors Misbehave in the Valley Summer
- What You Can Safely Check Yourself
- What Requires a Trained Technician
- Reading Opener Error Codes Without the Manual
- The 10-Second Balance Test
- Repair or Replace? How to Decide
- Common Mistakes to Avoid
- When to Call a Professional
- Frequently Asked Questions
- The Bottom Line
The Symptom-to-Cause Map: What Your Door Is Telling You
Every garage door failure has a signature. A door that grinds at the top and a door that slams shut are not the same problem, even though both feel alarming. Learning to match the behavior to the component is the core of troubleshooting, and it saves you from replacing parts that were never broken in the first place. Here’s the map we use:
- Door reverses before touching the floor. Usually a misaligned photo-eye, but often the down-force limit is set too low. Clean the lenses first; if they’re clear, suspect the force setting.
- Loud grinding or scraping as it travels. Rollers that have worn flat, or a track that’s been nudged out of alignment. Dry rollers on an old steel track are common culprits.
- Door jerks or stutters on the way up. A torsion spring that’s lost some tension, or one of a matched pair that’s failed while the other isn’t carrying its share.
- Door opens a foot then stops. The opener’s travel limit is off, or the safety reverse is being triggered by an obstruction in the track.
- Opener hums but the door doesn’t move. A stripped gear or a broken drive coupler inside the opener head. This is an opener problem, not a door problem.
- Door won’t stay up when you let go. Spring tension is off-spec, or the door is out of balance. This is a technician call.
- Remote works intermittently. Dead battery first, then a logic board or antenna issue in the opener. Rarely the door itself.
In our experience, the reversing-door call is the one homeowners most often self-misdiagnose. They replace photo-eyes when the real issue is calibration. If the lenses are clear and the door still reverses, don’t keep swapping sensors – check the force setting or call us. That’s the difference between a five-minute fix and a wasted trip to the hardware store.
Springs vs. Openers: Which System Is Actually Failing?
Your garage door is two separate systems bolted together. The opener is a motorized drive that pulls the door up and pushes it down. The door itself is a counterbalanced assembly – panels, tracks, rollers, cables, and springs – that the opener is only supposed to nudge along. When the spring does its job, a healthy door weighs almost nothing to lift. When it doesn’t, the opener is dragging dead weight, and it will eventually burn out trying.
This distinction matters because the symptoms overlap. A door that opens slowly could be a weak opener or a spring losing tension. A door that reverses could be a misaligned safety sensor or a bind in the track. The two systems fail for different reasons, and diagnosing one as the other is the most expensive mistake we see. A homeowner replaces a perfectly good opener, only to find the door still struggles because the spring was the problem all along. Or they ignore a straining opener until the gear strips, because they assumed the door was just heavy.
Here’s the rule: if the door is hard to move by hand, the problem is in the door (spring, track, roller, cable). If the door moves easily by hand but the opener still won’t operate it, the problem is in the opener (limit, force, gear, board, remote). That single check splits the diagnosis cleanly, and we walk through it in the balance test section below.
We service both sides of that equation. If your issue is garage door repair, that’s the door. If it’s the motor, drive, or remote, that’s garage door opener repair. And because we handle both, you get one diagnosis instead of two contractors pointing at each other. We work on LiftMaster, Chamberlain, Genie, Clopay, Amarr, Wayne Dalton, Craftsman, and Raynor systems – the actual hardware in your home, not a guess at it.
The Tracy Heat Factor: Why Doors Misbehave in the Valley Summer
Garage doors are largely steel, aluminum, and wood, and all three respond to temperature. In the Tracy valley, summers push the metal in your tracks and door panels through wide daily swings – cool mornings, hot afternoons, cool evenings – and that expansion and contraction has real consequences. It’s a gradual process, but it’s the reason a door that worked fine in April can start catching or scraping by July.
What happens physically: the steel tracks expand slightly in the afternoon heat. On a door with tight clearances, that fraction of an inch is enough to change how the rollers ride. A track that was plumb in spring can tilt enough in summer to cause a bind. The torsion spring, meanwhile, is a coiled steel element with a specific tension spec. Heat cycles don’t break it overnight, but they do accelerate fatigue over the years, and a spring that’s near the end of its life will show the strain first in hot weather – jerking, uneven travel, a door that feels heavier than it did.
The practical effect for Tracy homeowners is a seasonal pattern. Doors that were fine all winter start grinding in June. Openers that were quiet begin straining when the afternoon hits 100. That’s not random failure. It’s the valley heat doing what it does to metal.
What to do about it: lubricate rollers and hinges before summer and again in early fall, since dry metal binds worse in heat. Check that your tracks are still vertical by sighting down them – if you see a bow, that’s a technician call. And don’t ignore the first jerk of the season. A door that jerks in June is telling you the spring is stressed, and a stressed spring is a spring that’s closer to failing. Catching it early is cheaper and safer than waiting for it to snap.
What You Can Safely Check Yourself
Some troubleshooting genuinely belongs in the hands of the homeowner. These are the checks that carry no risk of injury and that a careful person can complete in a few minutes. Doing them before you call saves time and, in many cases, solves the problem entirely.
- Photo-eye alignment. Look at the two small lenses mounted near the floor on either side of the door. Each has an indicator light. If one is off, the beam is broken or blocked. Clear any cobwebs, leaves, or debris, and check that both lenses point at each other. On most openers, a solid light means aligned and a blinking light means misaligned.
- Photo-eye cleaning. Wipe the lenses with a soft dry cloth. Dust and spider webs are common and easily cleared.
- Limit switch settings. Locate the up and down limit adjustments on the opener head (usually two screws or dials). If the door stops short of the floor or reverses before it should, a small adjustment may fix it. Move in quarter-turn increments and test.
- Lubrication. Use a garage-door-specific lubricant on rollers, hinges, and the torsion spring (spring only if it’s a dry-type spring; check the manual). Never use WD-40 as a substitute – it attracts dust and dries out the metal.
- Remote battery. The most common “my opener is broken” call is a dead remote battery. Replace it and re-test before assuming a bigger problem.
- Obstruction check. Walk the full length of both tracks and look for anything that could block the door – a loose bolt, a bent bracket, debris in the track.
These six checks cover a surprising share of what looks like a serious failure. If they don’t resolve it, you’ve narrowed the problem down, and that makes the conversation with a technician faster and more accurate.
What Requires a Trained Technician
Some of the most common garage door problems involve components under extreme tension, and those are not homeowner jobs. A torsion spring on a standard residential door is wound to hundreds of pounds of stored force. A wound spring, a loose cable, or a cable drum that’s come off can cause serious injury in an instant – and the injuries are not rare. We’ve seen homeowners with broken hands and worse from trying to adjust spring tension with the wrong tools.
Specifically, do not attempt the following yourself:
- Torsion spring tension adjustment or replacement. The spring is under load at all times. Even a “loose” spring can release violently.
- Extension spring replacement. Older doors often use extension springs along the horizontal tracks. These also store dangerous force and require proper safety cables.
- Cable replacement or adjustment. The lift cables carry the full weight of the door. A slipping cable can slice through a hand.
- Cable drum work. The drums at each end of the torsion shaft are where the cables wind; removing them without releasing spring tension is genuinely dangerous.
- Track straightening. A bent track under load can snap back. Realigning tracks requires releasing tension first.
- Opener logic board or capacitor replacement. The opener head holds a capacitor that can deliver a nasty shock even after the power is off. Leave it to a technician.
These aren’t warnings meant to sell you a service call. They’re the reality of working with a heavy, spring-loaded assembly. The rule we give homeowners is simple: if the repair requires touching anything that’s under tension, holding weight, or carrying the door’s load, it’s a technician job. If it involves cleaning, aligning, adjusting an external limit, or replacing a battery, it’s usually safe to do yourself.
Reading Opener Error Codes Without the Manual
Modern openers are diagnostic tools if you know how to read them. Most units flash their light or blink an LED in a pattern that corresponds to a specific fault, and once you learn the pattern, you can skip the guesswork. The exact sequence varies by brand, but the logic is consistent across the models we work with.
Here’s how to read the common brands:
- LiftMaster and Chamberlain (same manufacturing family). The opener’s light will flash a number of times, pause, then repeat. The count indicates the fault: a low count usually points to a photo-eye or obstruction issue, a higher count to a travel or force problem. If the light flashes and the door won’t move, count the flashes before you do anything else.
- Genie. Many Genie units use a diagnostic LED on the back of the motor head that blinks a code. A short pattern means a sensor or wiring issue; a longer pattern means a limit or force fault. Some models also use a wall console that displays a code.
- Craftsman. Older Craftsman openers (many built by Chamberlain) use the same flash-count logic. If your unit has a diagnostic LED, check how many times it blinks in each cycle.
Write down the count before you call. A technician who knows the fault code before arriving can bring the right part and diagnose faster. If your opener is a LiftMaster, Chamberlain, or Genie unit, we’ve seen every code these systems produce, and we can usually tell from the count what’s likely wrong. The manual has a full list of codes, but you don’t need it to recognize the pattern – just count the flashes and describe them.
The 10-Second Balance Test
This is the single most useful three-step test in garage door troubleshooting, and it takes about ten seconds. It tells you whether the problem is the door or the opener, which is the fork in the road for every diagnosis that follows.
- Disconnect the opener. Pull the manual release cord hanging from the opener carriage. You’ll hear a click, and the door is now disconnected from the motor. It should move by hand.
- Lift the door to about waist height. Let go. A door that’s correctly balanced will stay roughly where you put it – maybe drift a few inches, but it should not crash down or fly up.
- Move it through the full travel. Push it up slowly and pull it down. It should move smoothly with one hand, with no binding, scraping, or sudden heaviness.
Now read the result. If the door hangs where you put it and moves easily by hand, the door and springs are healthy, and your problem is the opener – limits, force, remote, gear, or board. If the door crashes down, flies up, feels heavy, or binds, the door is the problem – spring tension, track alignment, rollers, or cables. Reconnect the opener by pulling the release cord until the carriage clicks back into the belt or chain.
In our experience, the balance test resolves the door-versus-opener question before anyone touches a tool. Do it before you call, and you’ll get a faster, more accurate diagnosis. If the result points to the door and you’re not comfortable with what you find, call us at (855) 473-8941 – we can work from your description.
Repair or Replace? How to Decide
Once you know what’s wrong, the next question is whether to fix it or replace it. This isn’t a sales decision – it’s a practical one, and the honest answer depends on the age of the components, the condition of the panels, and whether the door is failing in one place or several.
Repair usually makes sense when:
- The door is failing in one specific way (a spring, a roller, a remote, a limit setting).
- The panels and tracks are sound and the door operates smoothly aside from the reported issue.
- The opener is functioning and the issue is isolated to the door or the drive.
Replacement usually makes sense when:
- The door has multiple failing components at once – springs, rollers, cables, and panels all showing wear.
- Panels are dented, rusted through, or sagging, which can’t be repaired without replacing the panel.
- The opener is an older unit that’s already strained, and the door is also failing – you’re better off replacing both as a matched system.
We don’t push replacement when a repair will do. If a single spring or roller is the problem, we’ll say so. If the door has reached the end of its service life, we’ll tell you that too, and explain why. The honest answer is more valuable than the bigger invoice. If you’ve been putting off a full replacement, we also handle installation and full door replacement when that’s the right call.
Common Mistakes to Avoid
- Replacing the opener when the spring is the problem. A weak spring makes the door heavy, and a heavy door strains the opener. Homeowners replace the opener first and the door still struggles. Do the balance test first.
- Using WD-40 on the tracks and rollers. It’s a solvent, not a lubricant. It strips the existing grease and attracts dust, which then binds up the rollers. Use a garage-door-specific lubricant.
- Adjusting torsion spring tension without releasing load. This is the mistake that causes injuries. Springs are not a homeowner adjustment. They’re under hundreds of pounds of force.
- Ignoring the first season of jerking. In the Tracy valley heat, a door that starts jerking in June is signaling spring stress. Waiting until the spring snaps is more expensive, and it can damage the door.
- Cleaning the photo-eyes a dozen times. If the sensors are clean and the door still reverses, the problem is likely the down-force setting, not the sensors. Stop cleaning and check the force adjustment.
- Forcing a door that’s stuck. If the door won’t move, don’t keep pulling the opener or pushing the door. A stuck door means something is bound or a spring has failed, and forcing it can bend tracks or snap a cable.
- Assuming a big-box installer knows your brand. A generalist may install a door but not know its spring spec or opener compatibility. We work on the eight major brands – LiftMaster, Chamberlain, Genie, Clopay, Amarr, Wayne Dalton, Craftsman, and Raynor – so the diagnosis matches the product.
When to Call a Professional
Some problems are safe to troubleshoot; others need a technician before anything else happens. Call us when you find a broken spring, a snapped or slipping cable, a bent or knocked-out track, a door that won’t move at all, a door that crashes down when you test the balance, or an opener that hums but won’t move the door. Also call if you’ve done the safe checks and the problem persists – a clean photo-eye and a corrected limit that still leaves the door reversing means something deeper is wrong. Don’t keep adjusting. A trained technician can diagnose it correctly the first time.
Tracy Garage Door Service offers free estimates in Tracy – call (855) 473-8941. Our technicians have up to 14 years of experience, and we answer 24/7. Fast dispatch, 7am-7pm, Sunday through Friday. We’ll diagnose your door or opener, explain what’s wrong in plain language, and quote the price before any work starts.
Frequently Asked Questions
Most repairs in Tracy fall into a range of $180 to $340 for a single spring, and a matched pair usually costs about twice that. Opener repairs and roller or track adjustments are typically in the $150 to $300 range, and full door replacements vary widely by size and material. Every job is quoted per job by a written estimate, so you’ll know the price before any work starts. Call (855) 473-8941 for an exact quote – estimates are free.
We dispatch Sunday through Friday, 7am to 7pm, and same-day service is often available. We answer 24/7, so a call outside dispatch hours is booked into the next opening. Call (855) 473-8941 for the soonest available visit.
No. The written estimate you receive is the price you pay. If the diagnosis reveals a different problem than expected, we’ll explain it and quote a new estimate before any work begins – never after. Call (855) 473-8941 for a free estimate.
Yes, our technicians are licensed and insured. We’ll confirm the details when we schedule your visit, and our team works on the eight major brands – LiftMaster, Chamberlain, Genie, Clopay, Amarr, Wayne Dalton, Craftsman, and Raynor – so the diagnosis matches your actual hardware. Call (855) 473-8941 to schedule a free estimate.
Not always. Clean photo-eyes fix the problem about half the time, but if the lenses are clear and the door still reverses, the down-force setting on the opener is the likely culprit. That’s an adjustment a technician can make in minutes. Call (855) 473-8941 if you’ve cleaned the sensors and the door still reverses.
We work on LiftMaster, Chamberlain, Genie, Clopay, Amarr, Wayne Dalton, Craftsman, and Raynor – the eight brands most common in Tracy homes. Because we service both the door and the opener, we can diagnose the system as a whole instead of guessing at a brand we don’t know. Call (855) 473-8941 to confirm your model.
The Bottom Line
Garage door troubleshooting comes down to reading the door’s behavior before reaching for a tool. Most failures follow a predictable pattern: a spring that’s lost tension, a photo-eye that’s misaligned, a track that’s been knocked out of plumb, or an opener that’s out of calibration. Do the 10-second balance test to split the door from the opener, run the safe checks – photo-eye alignment, limit switches, lubrication – and call a technician for anything under tension. In Tracy, the valley heat adds a seasonal layer, so pay attention to the first jerk of summer. If you’ve narrowed it down and want a professional diagnosis, we’re here to help – call (855) 473-8941 for a free estimate in Tracy.
Written by the team at Tracy Garage Door Service.
See the difference
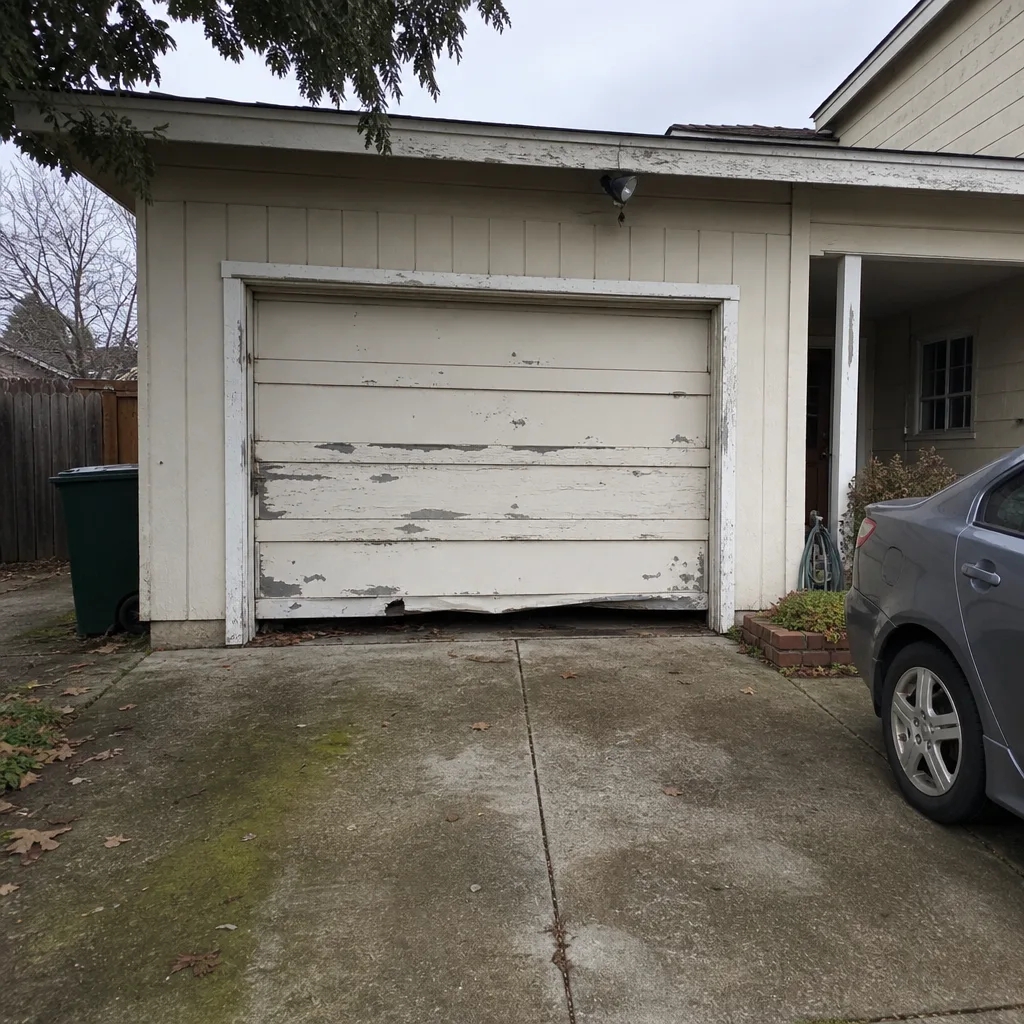 Before
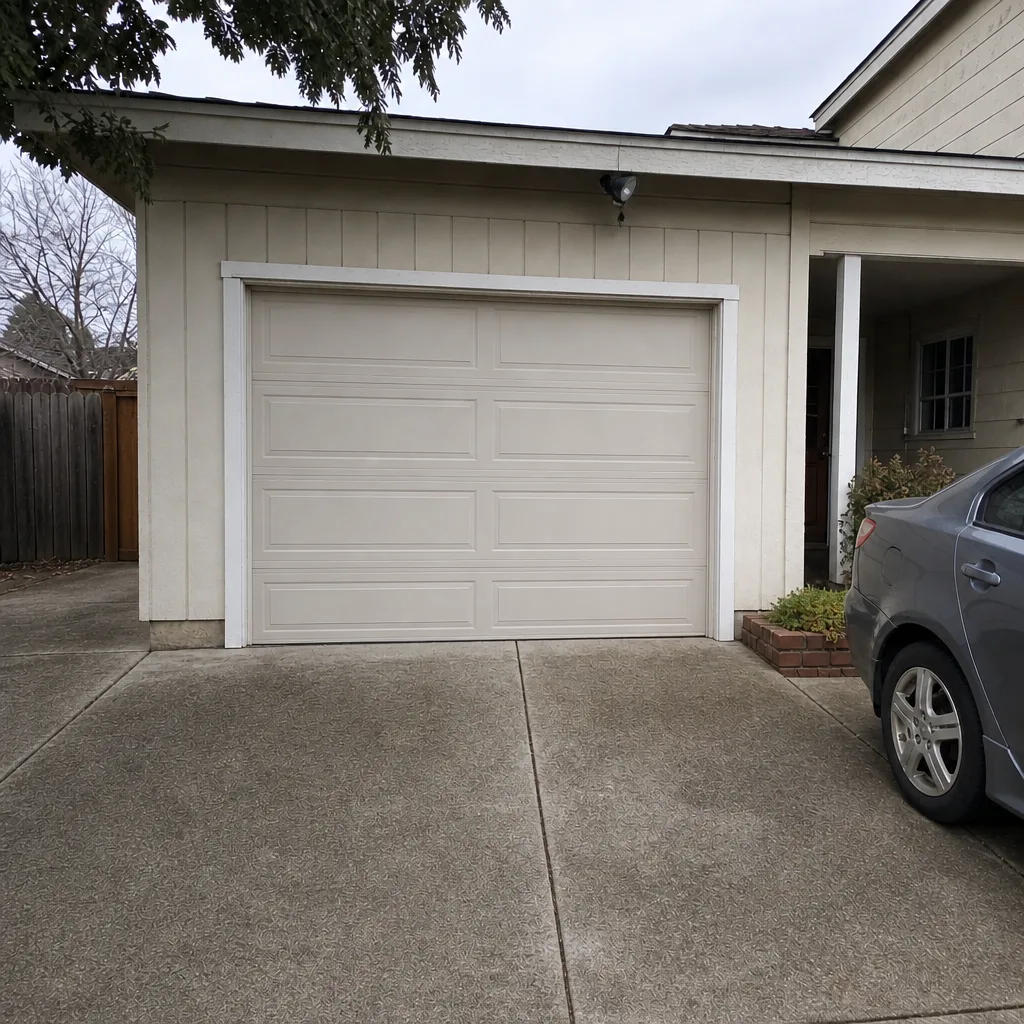 After
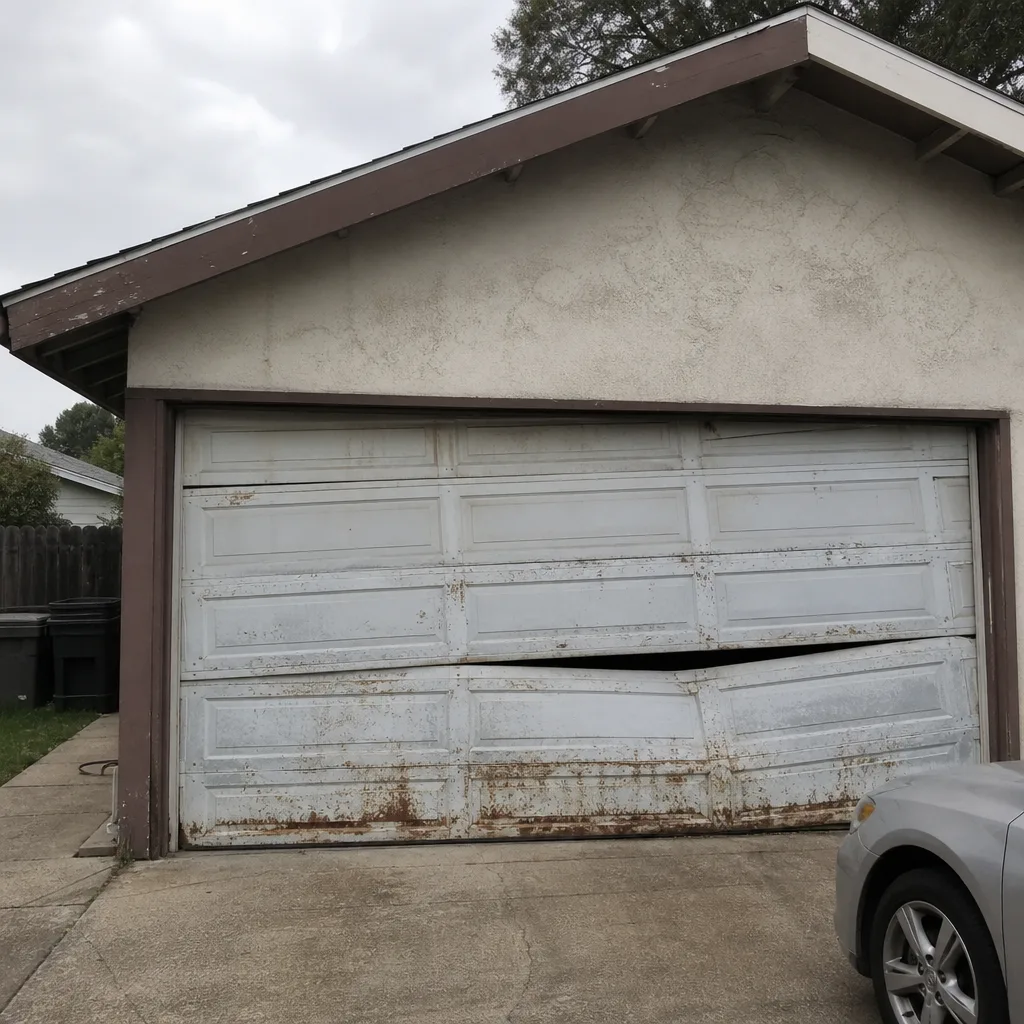 Before
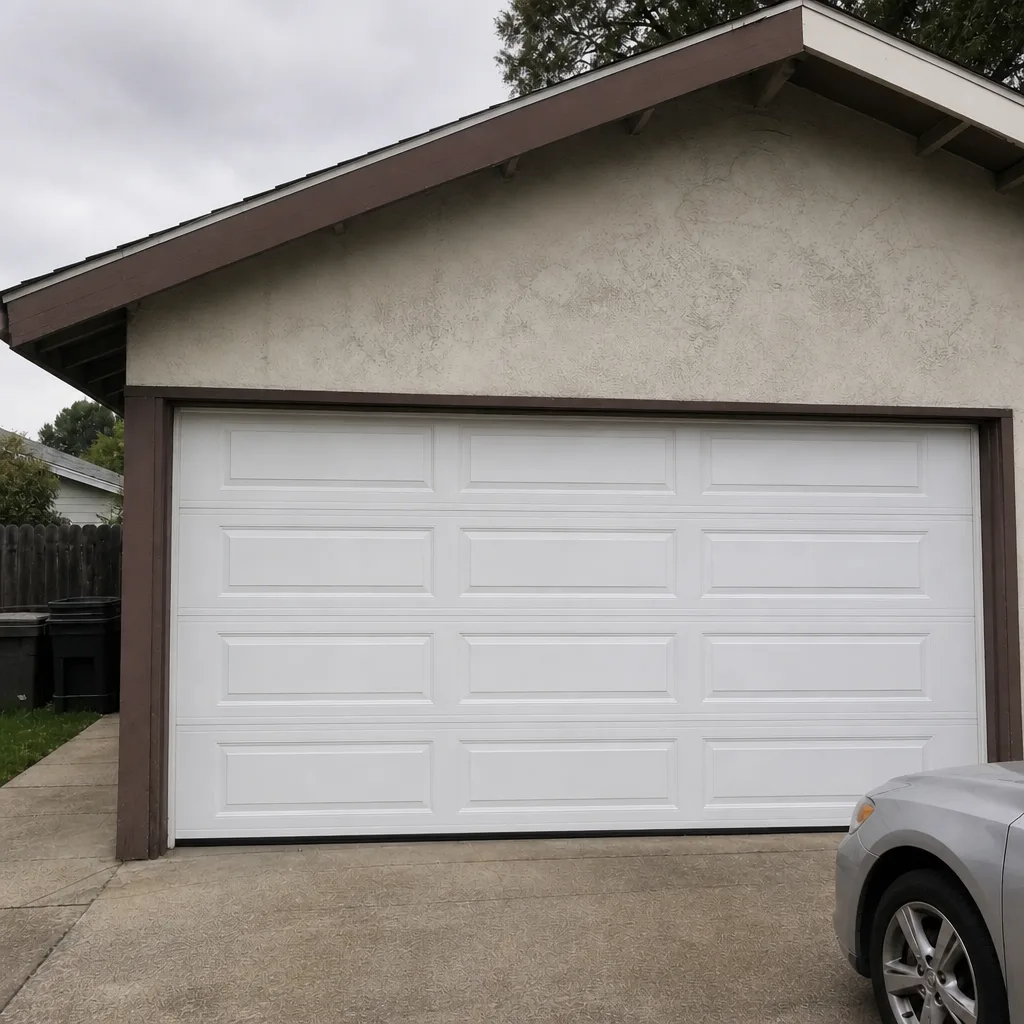 After
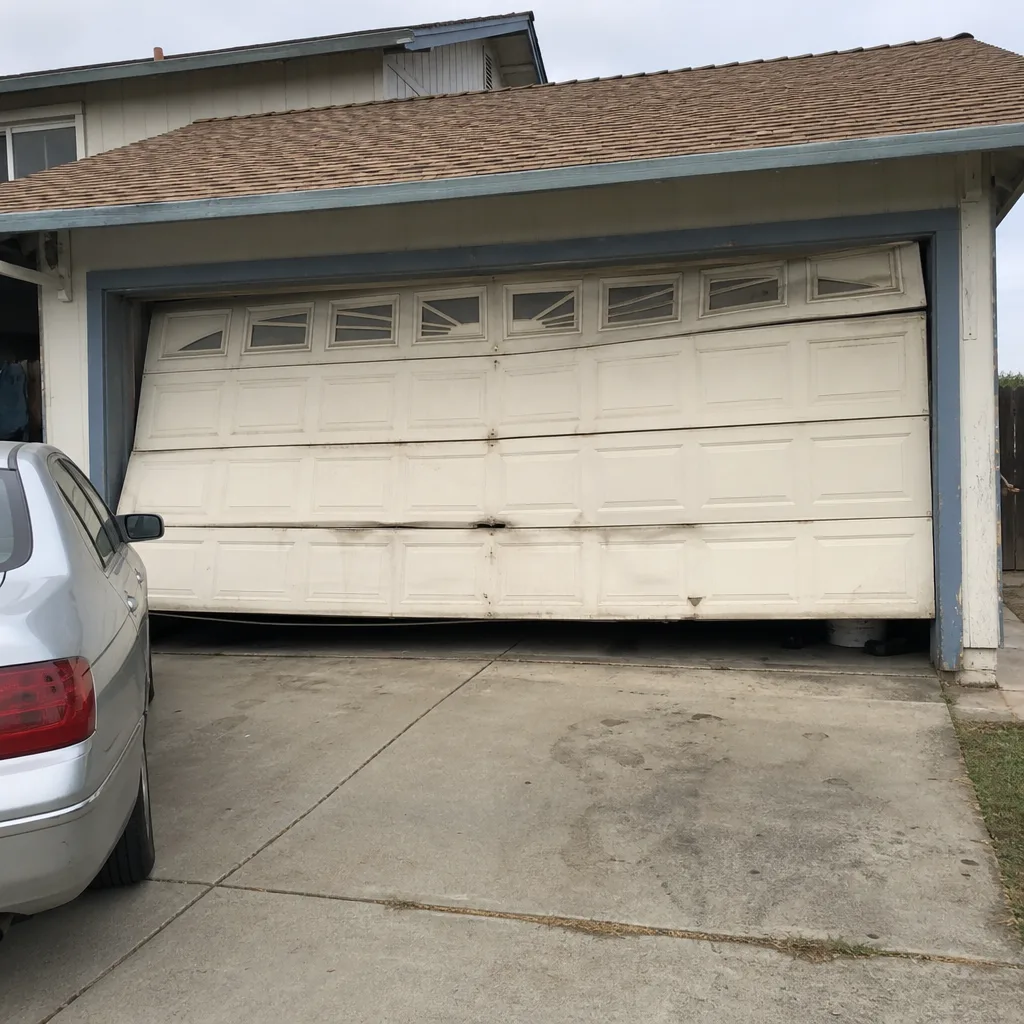 Before
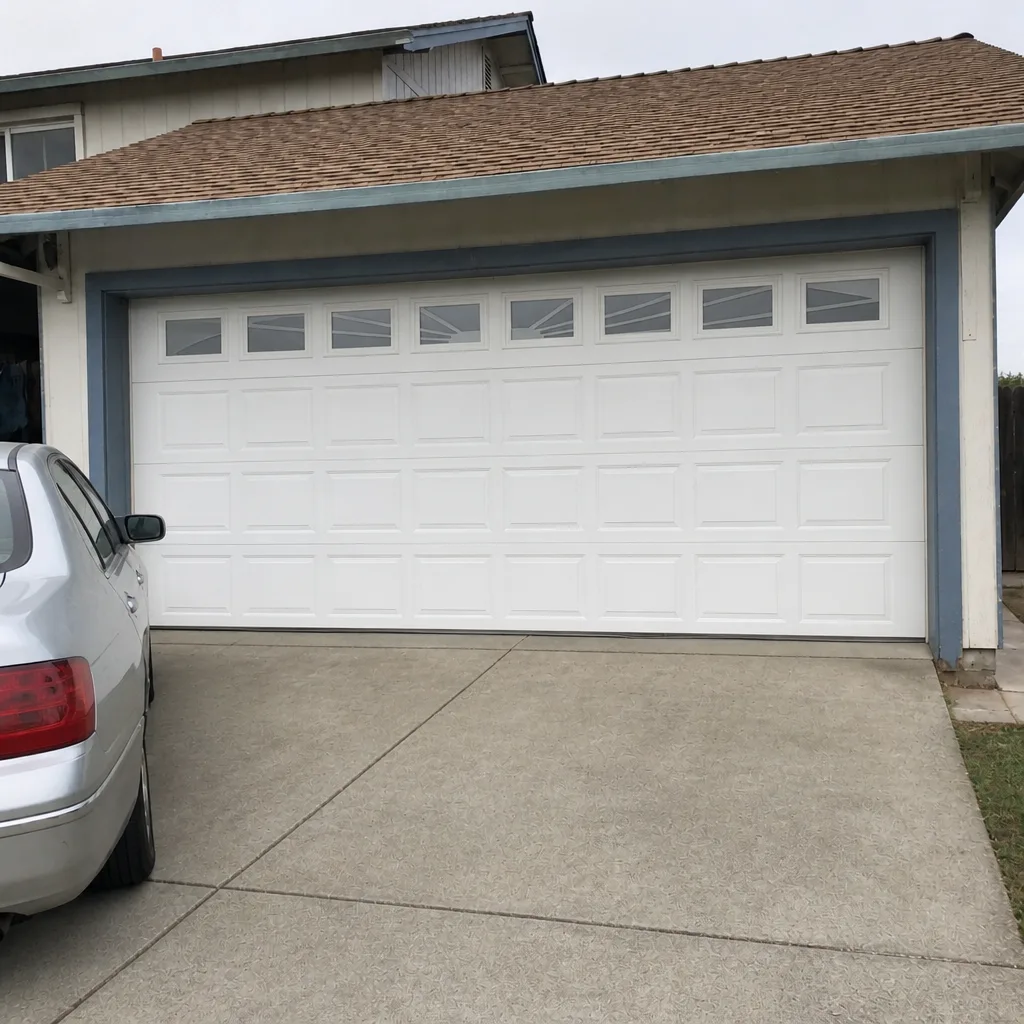 After